一、简介
ipython notebook 是一个基于浏览器的 python 数据分析工具,使用起来非常方便,具有极强的交互方式和富文本的展示效果。jupyter 是它的升级版,它的安装也非常方便,一般 Anaconda 安装包中会自带。安装好以后直接输入 jupyter notebook 便可以在浏览器中使用。
1. 为什么使用 Jupyter
关于为什么使用 jupyter 进行分析,而不是用 python 脚本或仅仅利用 excel,这里列举知乎中的两点回答:
1、基于过程
数据分析和传统的 MVC 软件开发的最大区别在于,数据分析存在一个 data flow, 我们是在不断的做计算,并且画图。这里存在一个大致的 “顺序”,比如:
- 先对数据进行处理,去掉有问题的数据 (Data Wrangling)
- 从各个角度看一个这个数据各个维度的分布情况 (Data Exploration)
- 根据自己的想法、要求,做具体的分析,计算
- 对计算结果做进一部分的分析
这有点类似做应用题。而这是传统的 IDE (e.g. PyCharm) 没有办法做到的。假如全部都写脚本+输出,那么你 > 每张图可能都要保存下来,然后再单独点进去看,很麻烦。而 Notebook 做这个要更方便,结果直接产生在 Cell 下面。>
>
反言之,如果你不需要这种频繁的计算-画图的话,那么 notebook 可能还真没什么大不了.>
2、Hackable>
和第一点对应,Notebook 的是计算+文档的混合体,而本身又是 web-based,因此非常好 hack, 比如我的 notebook 因为非常长,所以就加了个侧边栏目录:>
>
再比如,在分析电影数据的时候,我觉得用 card 来展示更方便一点,所以可以这样显示数据:>
>
参考链接: > https://www.zhihu.com/question/37490497/answer/212044783
2. Jupyter 优势
- 并行计算支持。jupyter notebook 支持并行计算,而且很全面,像 MPI,OpenMP 等,支持部署在集群上,具体可以参考文档。
- 多语言支持。这里的语言不是英语、汉语,而是不同的编程语言,包括在科学界很流行的 julia、Matlab、C、C#、R、Perl 等,超多支持,令我震惊了,具体可以看这个表。
- 桌面端的环境搭建。按照官网的说法,极其推荐 Anaconda,有需求的可以直接到 Anaconda 官网 下载可用的安装包,支持 win、Linux、MacOS,真是除了手机都支持 O(∩_∩)O\~。
二、本地安装与使用
1. 安装
正常情况下,Anaconda 安装包中已经自带了 jupyter、jupyter-notebook。对于 miniconda,或者其他只安装了 python 的机器,需要借助 pip 安装:
pip install ipython
pip install jypyter
或者使用 conda 命令安装:
conda install jupyter
更多安装说明,请参考 官网。
2. 启动
接下来,我们只需要在命令行输入 jupyter notebook 或者 jupyter-notebook 即可。
# 指定 ip 及端口启动 jupyter notebook
$ jupyter notebook --ip=0.0.0.0 --port=8080

# 启动 jupyter notebook 时不启动浏览器
$ jupyter notebook --no-browser

$ jupyter-notebook
[I 10:47:32.588 NotebookApp] JupyterLab alpha preview extension loaded from /Bio/Bioinfo/Pipeline/SoftWare/Python/Anaconda2.5/lib/python2.7/site-packages/jupyterlab
JupyterLab v0.27.0
Known labextensions:
[I 10:47:32.626 NotebookApp] Running the core application with no additional extensions or settings
[I 10:47:32.644 NotebookApp] Serving notebooks from local directory: /Bio/home/bi.shenwy/pythonTrain
[I 10:47:32.644 NotebookApp] 0 active kernels
[I 10:47:32.644 NotebookApp] The Jupyter Notebook is running at: http://localhost:8888/?token=120a457da88d214270e...22a376d3d4
[I 10:47:32.644 NotebookApp] Use Control-C to stop this server and shut down all kernels (twice to skip confirmation).
[C 10:47:32.651 NotebookApp]

    Copy/paste this URL into your browser when you connect for the first time,
    to login with a token:
        http://localhost:8888/?token=120a457da88d214270e...22a376d3d4
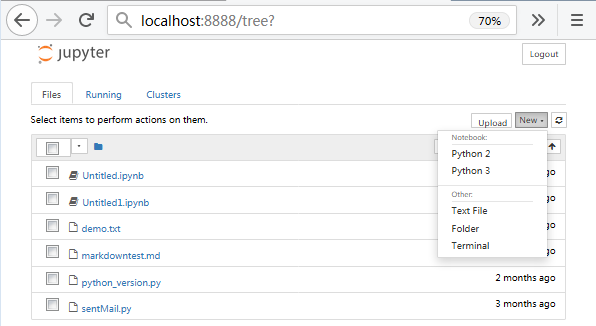
这时候,Jupyter 会自动生成一个用于登陆 jupyter Notebook 的 token,我们在浏览器打开 token 的链接:http://localhost:8888/?token=120a457da88d214270e...22a376d3d4,即可进入登陆后的 Jupyter Notebook 页面:
3. 使用
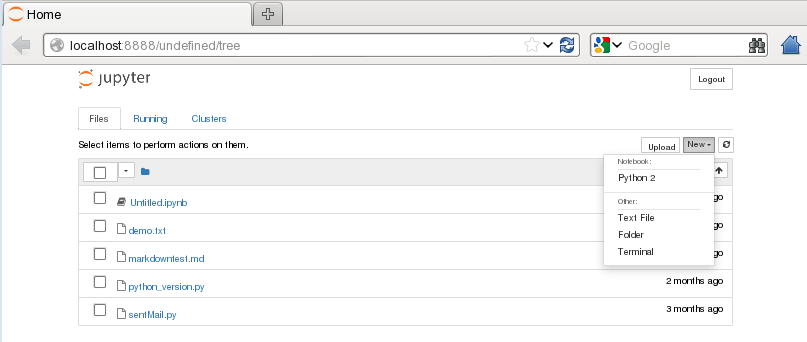
在 jupyter notebook web 页面,我们可以点击 ” New” → “Python2” 创建 python2 笔记。我们可以在这两个笔记中使用 markdown 语法进行编辑,也可以交互执行 python 代码。
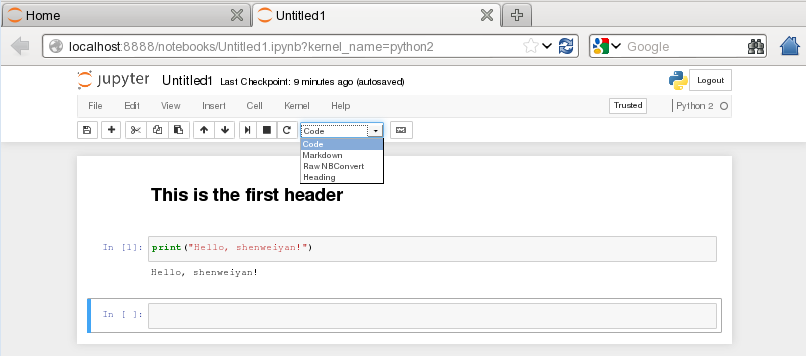
Jupyter Notebook web 登陆后,点击右上角 “Logout” 可退出;通过输入上面的 token 可重新登陆。或者我们可以通过 jupyter notebook password 命令设置密码进行登陆(如果忘记密码也可以通过该命令进行重置)。默认 jupyter notebook passwd 保存在 ~/.jupyter/jupyter_notebook_config.json ,如下:
$ cat ~/.jupyter/jupyter_notebook_config.json
{
  "NotebookApp": {
    "password": "sha1:1a611a30d93a:5ab8b4be55d5e.....b8c7a8sa"
  }
}
三、远程服务器部署与配置
网上搜了一下 Jupyter 服务器的搭建,官方给出了很好的多用户服务端 Jupyterhub,但我的需求就是在 VPS/Linux 服务器搭建好一个 Jupyter 服务网页,完全自己用,所以搭建 Jupyterhub 有些浪费资源,因此我们需要一个更加简单的 Jupyter 服务搭建方案。当然,官网也写好文档(参考:Running a notebook server)给我们用了,但文档是用英文写的,有需要的也可以参考实现。
1. 配置基于 IP 访问
Jupyter Notebook 可以通过命令行参数指定 IP,也可以通过配置文件实现基于服务器公网 IP 下的远程访问。 通过命令行实现基于服务器公网 IP 访问,只需要执行以下命令即可:
$ jupyter notebook --ip=0.0.0.0 --port=8080
2. 基于域名访问
1) 配置
下面的命令会在 ~/.jupyter 自动创建一个配置文件 jupyter_notebook_config.py。
$ jupyter notebook --generate-config
Writing default config to: /home/shenweiyan/.jupyter/jupyter_notebook_config.py
可以配置的项目有很多,有时间的话,可以仔细阅读配置文件中的注释,写的很清楚。这里要强调的是创建密码的方法,总不想让自己的 jupyter 服务器被其他人使用吧。执行下面语句:
$ python -c "import IPython;print(IPython.lib.passwd())"
Enter password:
Verify password:
sha1:bda74221176f:ae266f5xxxxxxxxxxxxxxxxxxxxxxxx1
然后将得到的 sha1 复制到配置文件 jupyter_notebook_config.py 中的相应位置:
c.NotebookApp.password = 'sha1:bda74221176f:ae266f5xxxxxxxxxxxxxxxxxxxxxxxx1'
配置文件中,还有几处要修改:
c.NotebookApp.ip = '127.0.0.1'   # ip 为 localhost 会引发 OSError: [Errno 99] Cannot assign requested address
c.NotebookApp.allow_origin = '*'
c.NotebookApp.open_browser = False
c.NotebookApp.port = 8888
如此这般之后,配置完成咯!
2) 运行
执行命令:
$ jupyter notebook
就可以看到 jupyter notebook 执行的日志信息:
[I 14:57:17.197 NotebookApp] JupyterLab beta preview extension loaded from /usr/local/software/anaconda3/lib/python3.6/site-packages/jupyterlab
[I 14:57:17.197 NotebookApp] JupyterLab application directory is /usr/local/software/anaconda3/share/jupyter/lab
[I 14:57:17.203 NotebookApp] Serving notebooks from local directory: /data/JupyterNotebook
[I 14:57:17.203 NotebookApp] 0 active kernels
[I 14:57:17.203 NotebookApp] The Jupyter Notebook is running at:
[I 14:57:17.203 NotebookApp] http://127.0.0.1:8888/
[I 14:57:17.203 NotebookApp] Use Control-C to stop this server and shut down all kernels (twice to skip confirmation).
这是尚不能打开网页,因为是配置在 127.0.0.1 上的,只有本机可以访问。
3) 域名解析
配置 nginx 前需要把你已经申请的域名跟 Jupyter Notebook 的服务器 ip 进行绑定解析。
打开阿里云域名管理,增加 A 记录解析:

4) 配置 nginx
nginx 是一个高效的服务器,是著名的 LNMP 中的 N,相信很多搭建过网站的小伙伴一定不陌生。这里,假设我们已经安装好了 nginx,如果不会安装可以自行谷歌或者百度。
nginx 创建一个虚拟主机 vhost,然后配置文件参考下面:
upstream notebook {
    server localhost:8888;
}
server {
    listen 80;
    server_name xxx.xxxx.com;
    rewrite ^/(.*) https://xxx.xxxx.com/$1 permanent;
}
server{
    listen 443 ssl;
    index index.html index.htm index.php default.html default.htm default.php;
    server_name xxx.xxxx.com;
    root /home/wwwroot/xxx.xxxx.com;
    ssl_certificate /etc/letsencrypt/live/xxx.xxxx.com/fullchain.pem;
    ssl_certificate_key /etc/letsencrypt/live/xxx.xxxx.com/privkey.key;
    ssl_ciphers "EECDH CHACHA20:EECDH CHACHA20-draft:EECDH AES128:RSA AES128:EECDH AES256:RSA AES256:EECDH 3DES:RSA 3DES:!MD5";
    ssl_protocols TLSv1 TLSv1.1 TLSv1.2;
    ssl_prefer_server_ciphers on;
    ssl_session_cache shared:SSL:10m;
    location / {
        proxy_pass            http://notebook;
        proxy_set_header      Host $host;
    }

    location ~ /api/kernels/ {
        proxy_pass            http://notebook;
        proxy_set_header      Host $host;
        # websocket support
        proxy_http_version    1.1;
        proxy_set_header      Upgrade "websocket";
        proxy_set_header      Connection "Upgrade";
        proxy_read_timeout    86400;
    }
    location ~ /terminals/ {
        proxy_pass            http://notebook;
        proxy_set_header      Host $host;
        # websocket support
        proxy_http_version    1.1;
        proxy_set_header      Upgrade "websocket";
        proxy_set_header      Connection "Upgrade";
        proxy_read_timeout    86400;
    }
}
其中 fullchain.pem 与 privkey.pem 是你的网址的 SSL 证书,如果没有,可以参考 Letsencrypt 免费证书。
至此,大功告成,打开你的网址 xxx.xxx.com 就可以看到熟悉的 Jupyter 了。
3. 后台模式运行
基于远程服务部署完成 Jupyter Notebook,我们想要实现让它一直在后台运行,可以使用后台进程:
$ cat run.sh
cd /apps/jupyter/notebooks;jupyter notebook 1>/apps/jupyter/logs/jupyter-notebook.log 2>&1 &

$ sh run.sh
四、实现多语言环境
Jupyter Notebook 作为一个把代码、图像、注释、公式和作图集于一处,从而实现可读性分析的交互式笔记本工具,借助所谓的内核(Kernel)的概念,Jupyter Notebook 可以同时支持包括 python2、python3、R、Ruby 在内超过 50 多种不同编程环境。基于 Kernel,Jupyter Notebook 可以支持的编程语言可以参考列表。
下面我们在 Jupyter Notebook 中实现 python2 与 python3 自由切换。
1. 参考教程
The idea here is to install multiple
ipythonkernels. Here are instructions for anaconda. If you are not using anaconda, I recently added instructions using pure virtualenvs.
Anaconda 4.1.0
Since version 4.1.0, anaconda includes a special package nb_conda_kernels that detects conda environments with notebook kernels and automatically registers them. This makes using a new python version as easy as creating new conda environments:
conda create -n py27 python=2.7 ipykernel conda create -n py36 python=3.6 ipykernel
>
> After a restart of jupyter notebook, the new kernels are available over the graphical interface. Please note that new packages have to be explicitly installed into the new enviroments. The Managing environments section in conda's docs provides further information.


> **Manually registering kernels**


Users who do not want to use nb_conda_kernels or still use older versions of anaconda can use the following steps to manually register ipython kernels.


configure the `python2.7` environment:
> ```shell
conda create -n py27 python=2.7
source activate py27
conda install notebook ipykernel
ipython kernel install --user
Additionally you can pass the
--nameand--display-nameoptions to ipython kernel install if you want to change the names of your kernels. Seeipython kernel install --helpfor more informations.
总结起来就是:
- 在 python2 和 python3 环境中分别安装 ipykernel。
- 手动为当前用户(
--user),或者指定路径(--prefix)安装 IPython kernel spec。其中--user与--prefix不能同时使用。 - 使用–user 时,IPython kernel spec 默认安装到当前用户 \~/.local/share/jupyter/kernels 或者 /home/shenweiyan/.ipython/kernels。
- 不加 –user 和 –prefix,IPython kernel spec 默认安装到 /usr/local/share/jupyter/kernels 或者 /usr/share/jupyter/kernels。
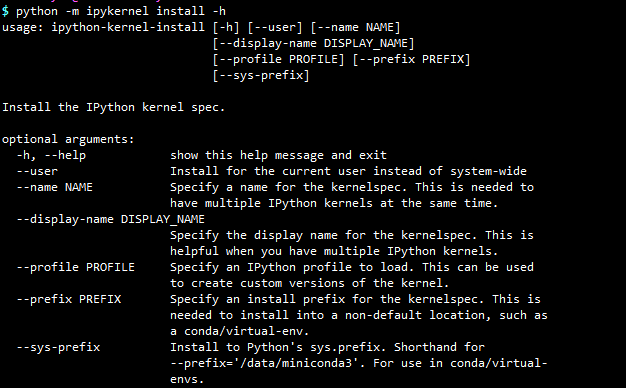
- IPython kernel spec 安装可以使用 python -m ipykernel install,也可以使用 ipython-kernel-install 命令,两者是一样的。
2. 实际操作
使用 --prefix 指定 IPython kernel spec 安装路径:
# python2 环境(默认)
$ python -m pip install ipykernel
$ python -m ipykernel install --prefix=/Bio/Anaconda2.5/

# python3 环境
$ /Bio/Anaconda2.5/envs/python3/bin/python -m pip install ipykernel
$ /Bio/Anaconda2.5/envs/python3/bin/python -m ipykernel install --prefix=/Bio/Anaconda2.5/ --name "python3"
也可以使用 conda 进行安装:
# python2 环境(root)
conda install -n root ipykernel
python -m ipykernel install --prefix=/path/to/install --name "python2"

# python3 环境
conda install -n python3 ipykernel
/path/to/python3 -m ipykernel install --prefix=/path/to/install --name "python3"
最后,jupyter-kernelspec list 检查安装好的 kernels,启动 jupyter notebook:
$ jupyter-kernelspec list
Available kernels:
  python2    /Bio/Anaconda2.5/share/jupyter/kernels/python2
  python3    /Bio/Anaconda2.5/share/jupyter/kernels/python3