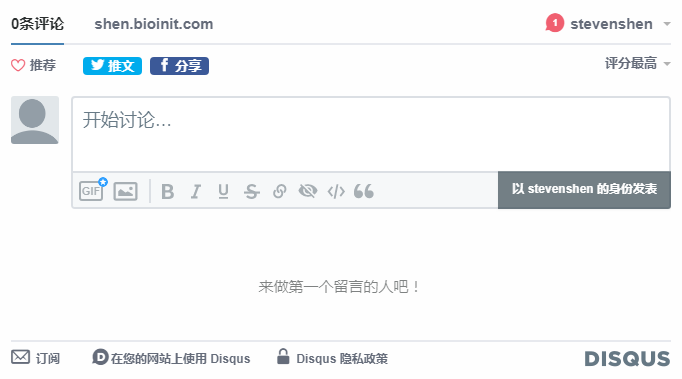
博客 | hugo 博客添加 disqus 评论系统
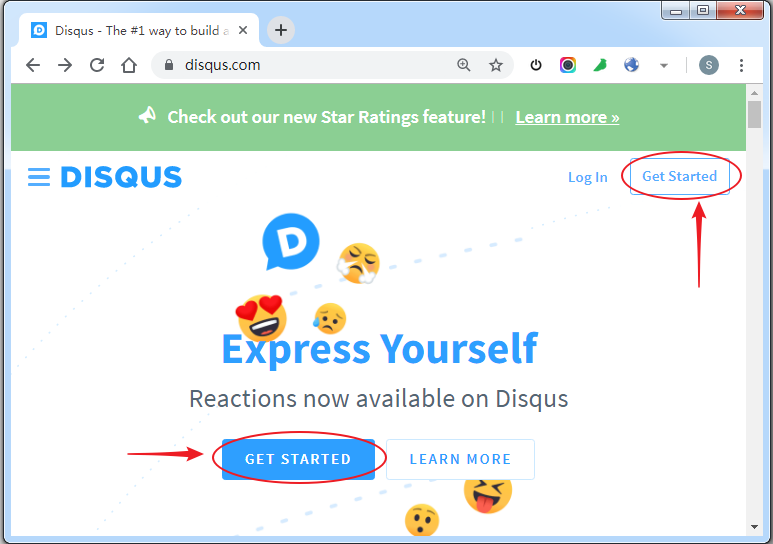
打开 diqus 官网:http://disqus.com,点击 “GET STARTED” 进入注册页面:
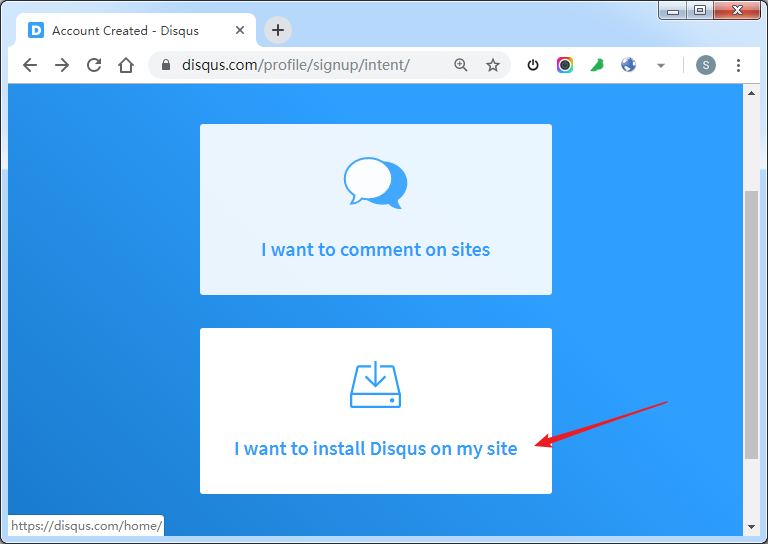
选择 “I want to install Disqus on my site”,进入”Create” 创建页面:
在创建页面填写网站信息:

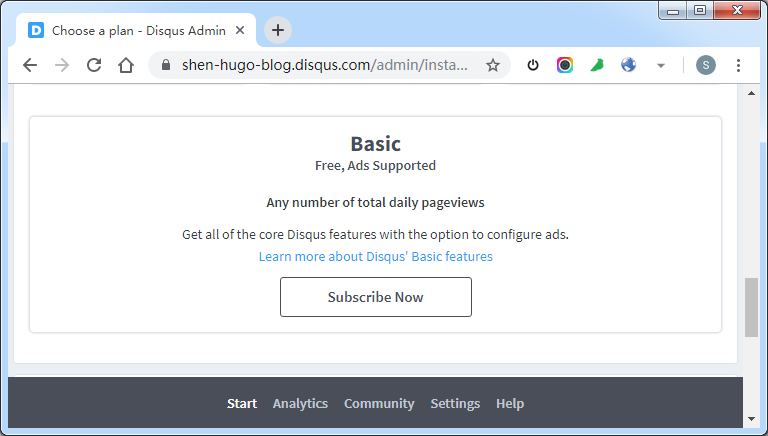
在 “Choose a plan” 页面,拉到最下面,选择免费的 “Basic” 版本,点击 “Subscribe Now”:
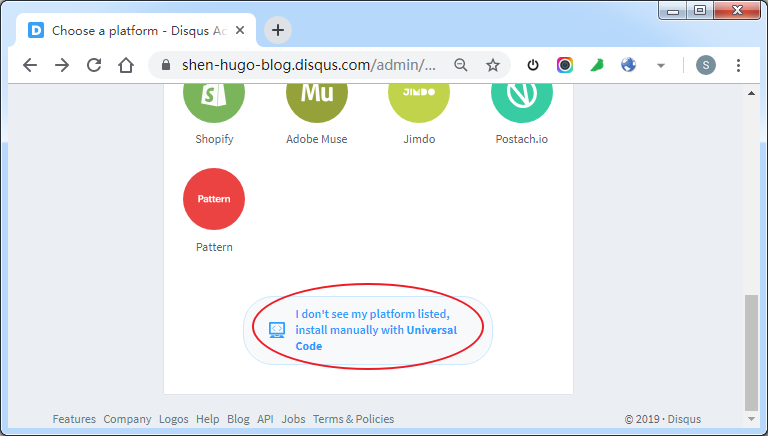
在 “Choose a platform” 选择博客的平台类型,对于 hugo 我们选择页面最下面的 “Universal Code”:
把 “Install instructions for Universal Code - Disqus Admin” 页面的代码拷贝到 hugo 博客的 layouts/partials/disqus.html 文件:
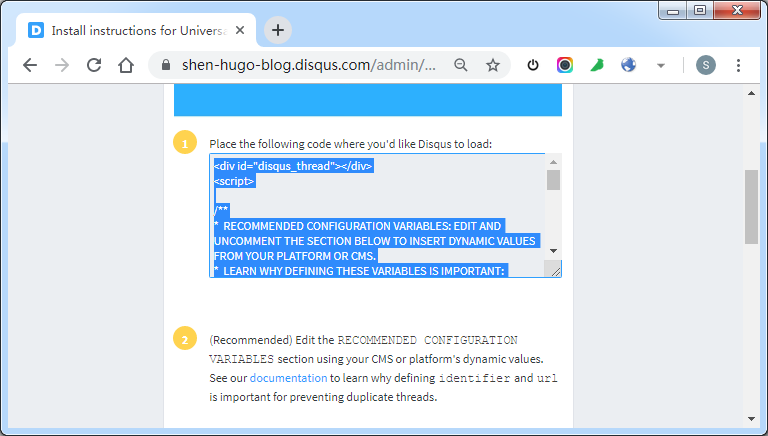
<div id="disqus_thread"></div>
<script>
  /**
   *  RECOMMENDED CONFIGURATION VARIABLES: EDIT AND UNCOMMENT THE SECTION BELOW TO INSERT DYNAMIC VALUES FROM YOUR PLATFORM OR CMS.
   *  LEARN WHY DEFINING THESE VARIABLES IS IMPORTANT: https://disqus.com/admin/universalcode/#configuration-variables*/
  /*
var disqus_config = function () {
this.page.url = "{{ .Permalink }}";  // Replace PAGE_URL with your page's canonical URL variable
this.page.identifier = "{{ .Permalink }}"; // Replace PAGE_IDENTIFIER with your page's unique identifier variable
};
*/
  (function () {
    // DON'T EDIT BELOW THIS LINE
    var d = document,
      s = d.createElement("script");
    s.src = "https://shen-hugo-blog.disqus.com/embed.js";
    s.setAttribute("data-timestamp", +new Date());
    (d.head || d.body).appendChild(s);
  })();
</script>
<noscript
  >Please enable JavaScript to view the
  <a href="https://disqus.com/?ref_noscript"
    >comments powered by Disqus.</a
  ></noscript
>
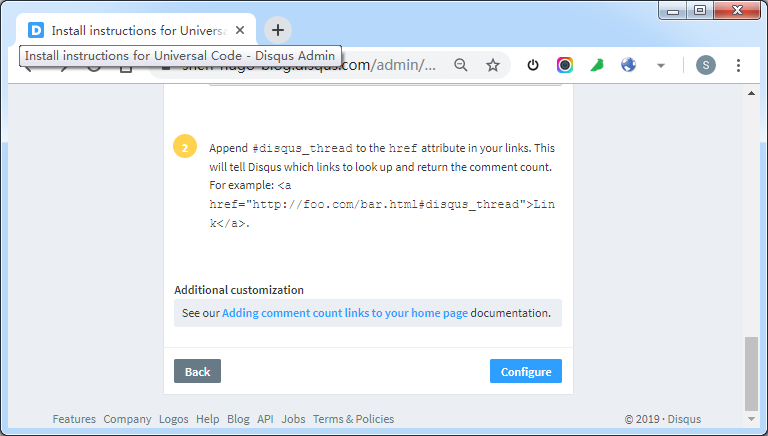
最后,在 “Install instructions for Universal Code - Disqus Admin” 页面拉到最下面,点击 “Configure”:
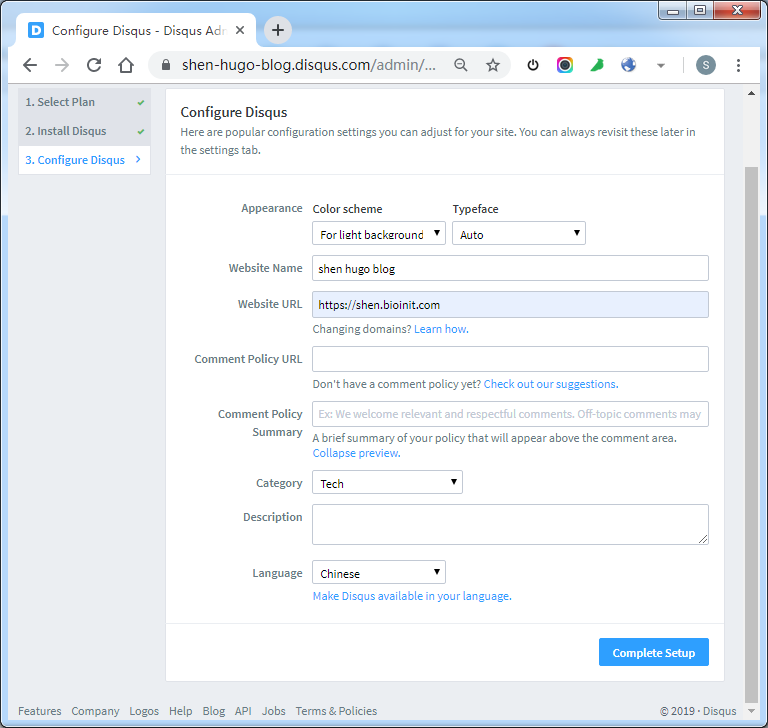
在 “Configure” 页面填写完善网站的相关信息,点击 “Complete Setup” 完成设置。
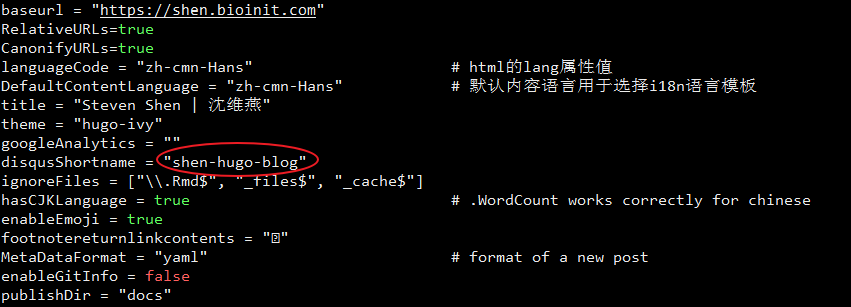
在 hugo 博客的 config.toml 配置文件中增加 disqusShortname 参数:
在 hugo 博客 layouts 目录下的模板中引入 disqus.html 模板:
{{ partial "disqus.html" . }}
最后,执行 hugo,重新渲染生成所有的静态博客文件,push 到 github pages,完成所有操作。